
With the recent release of Abobe Lightroom 5 for a mere $149.95
the amateur photographer now has the ability to enhance and improve a photo in the comfort of their own home.
Lightroom is really the digital equivalent to a chemical darkroom back when we all shot with
film. The enhancements that were done in the darkroom would improve exposure,
clarity, contrast, pretty much everything you can now do in Lightroom. Let me
take you through the steps I go through with most of the photos I create.
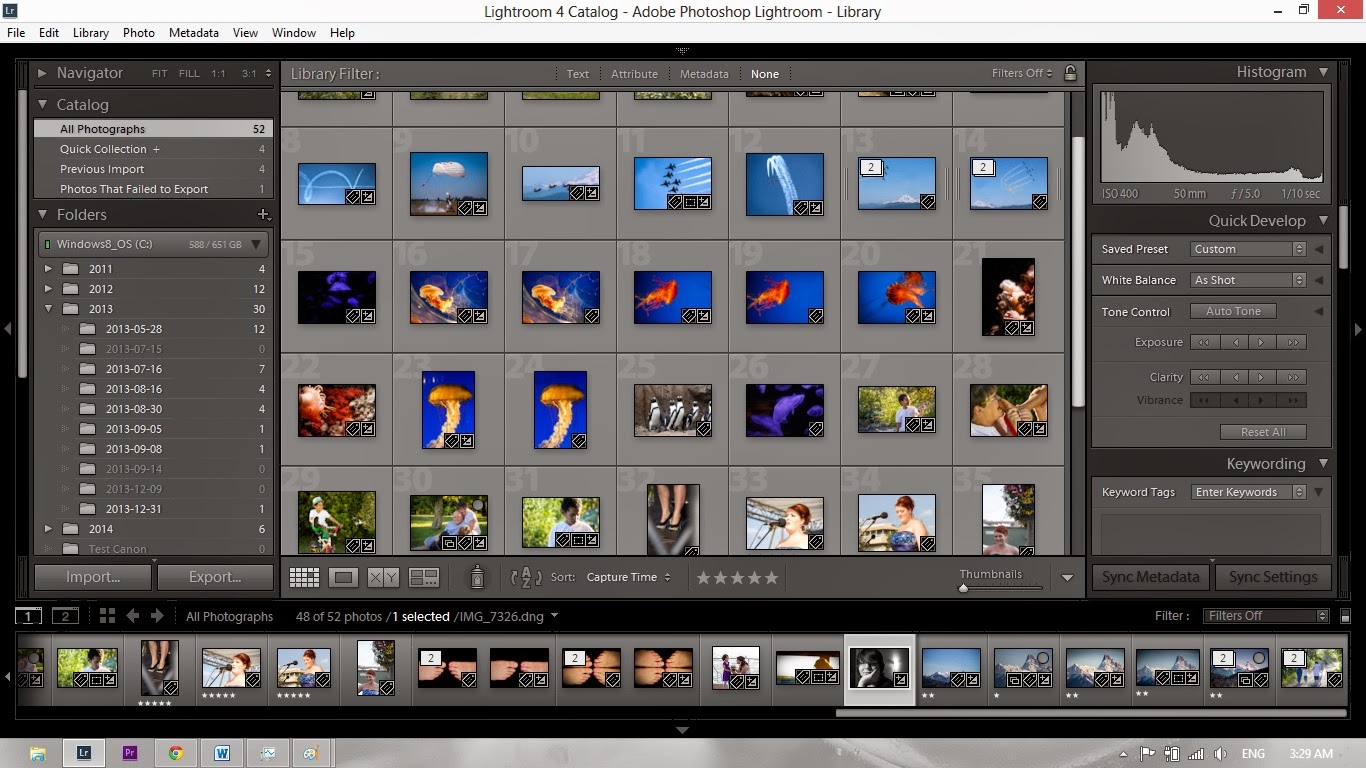
Here is a shot of my Lightroom catalogue. From this catalogue I can search for photos using a variety of methods from keyword searching, to star rating, and a host of other ways. Once I identify photos I would like to edit it's as simple as highlight them and click the develop tab.


Down the right side of the work palette you will see the basic
menu where you will begin tweaking your photo from good to great. It is
important to remember that the path to a great photo is starting with a great
foundation and looking at the photo I am working on it has the right recipe.
The composition I really like, the lighting and exposure is very good and now
to make a few fine tuning adjustments.
I like to start with the highlights, shadows, whites, and blacks,
in that order. I will make adjustments using the sliders and when I work the
whites and blacks I use Alt while adjusting them. This makes the screen appear
black and when I start to "Clip" (a phrase used when ever or under exposing)the blacks or whites it shows on the
screen.


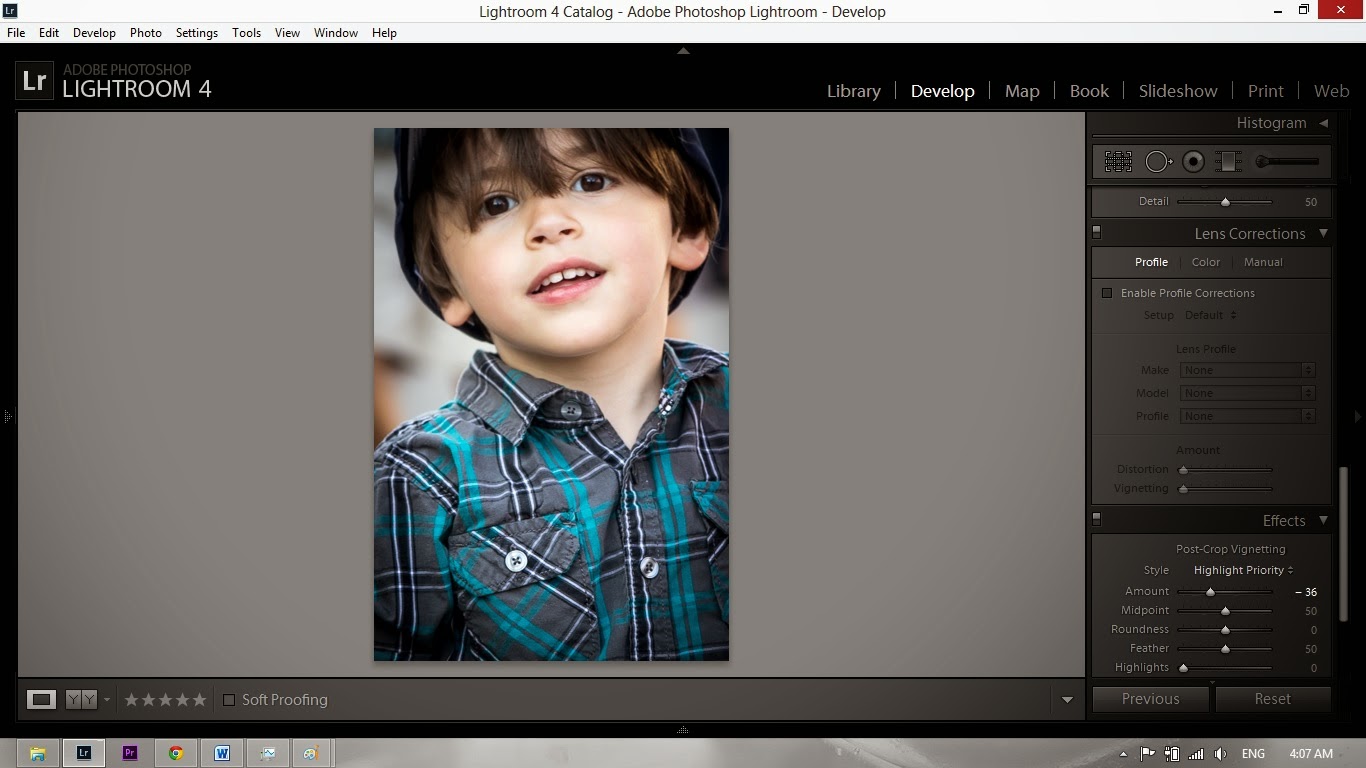
Now that we have made these adjustments we can sharpen and vignette the photo giving it a clear definition and a little artistic feel.
 |
| Before |
 |
| After |
No comments:
Post a Comment